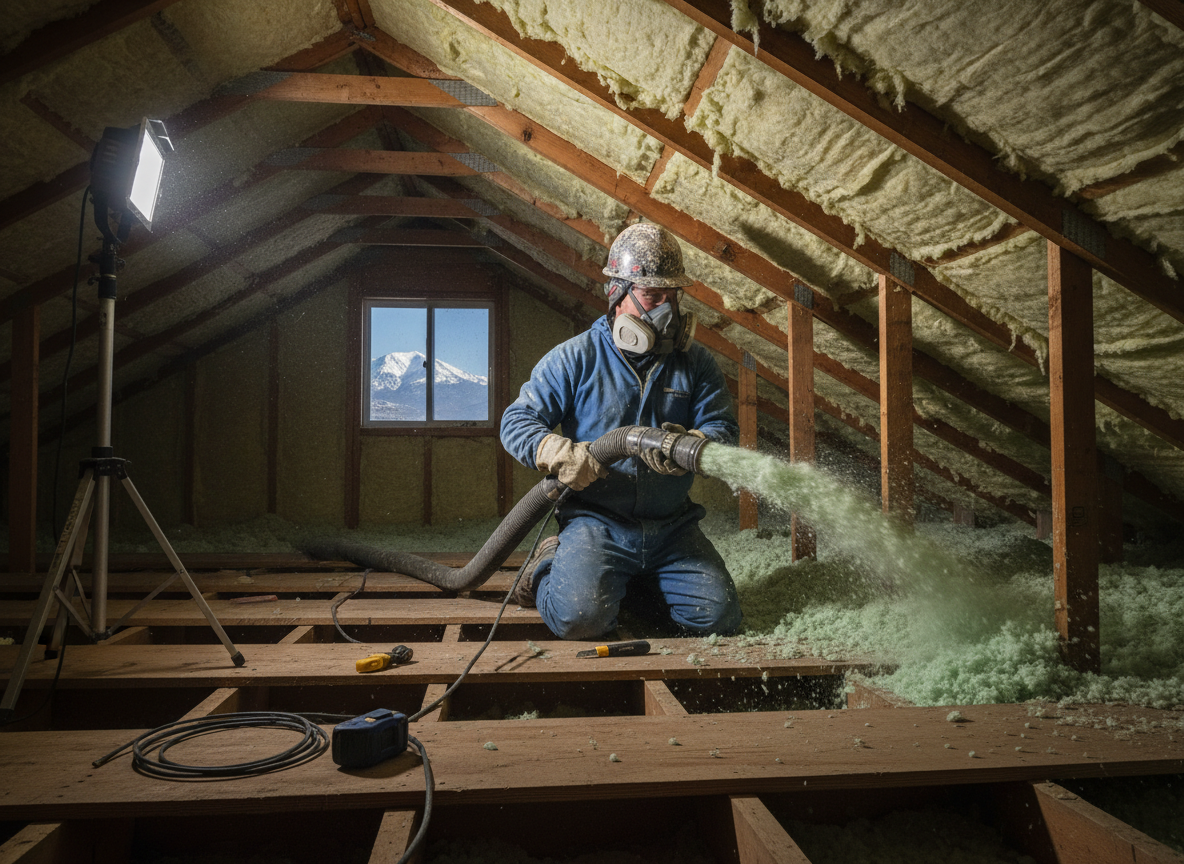
Holladay homes built before the 1980s in neighborhoods like Holladay Village and Mount Olympus often have minimal ceiling insulation that has settled or been disturbed by roof work. Semi-arid conditions bring hot summers that drive heat gain through uninsulated ceilings and cold snowy winters that create ice dams when warm attic air melts roof snow. Proper ceiling insulation requires attention to existing ventilation paths so moisture does not accumulate in the cold months common across Salt Lake County.
Blown-in cellulose or fiberglass is frequently chosen for these ceilings because it fills irregular joist spaces without disturbing plaster or drywall finishes typical in Cottonwood Heights and Millcreek border homes. Installers must check for recessed lights and wiring before covering them, as blocked fixtures create fire hazards. In areas near Olympus Hills Park where terrain creates microclimates, extra depth along north-facing slopes helps reduce the temperature swings that stress older roof decks.
Local building practices in Salt Lake County call for vapor retarders on the warm side in many pre-1990 homes. Skipping this step during ceiling work allows condensation to form when indoor heat meets the cold attic plane during January snow events. Ridgewarm Circle crews verify airflow at soffits and ridge vents before closing the ceiling plane so the insulation performs through both the July heat and December cold that define the region.
Technician insight
In Holladay the thing that catches most people out with ceiling insulation is the low-clearance attics in 1960s Mount Olympus homes where settled original batts sit right against the roof deck; one missed ridge vent during a snowy winter and you get ice dams that push water back under the shingles.
Holladay Village Ceiling Upgrade
Homeowners noticed uneven heating on the second floor during January cold snaps. Inspection showed original insulation had compressed to three inches with blocked soffits. Crews added blown-in cellulose while restoring airflow paths. The family reported consistent temperatures and no further ice dam issues the next winter.
How it works
- 1
Site Assessment
Inspect ceiling cavities, existing insulation depth, ventilation, and any recessed fixtures in the Holladay home.
- 2
Material Selection
Choose blown-in or batt products matched to joist spacing and local winter performance needs.
- 3
Preparation
Seal gaps, protect fixtures, and confirm soffit and ridge vent paths remain clear.
- 4
Installation
Apply insulation evenly to target depth while maintaining required clearances around lights and wiring.
- 5
Final Check
Verify coverage, ventilation function, and cleanup before leaving the property.
Pricing
Upfront quotes after inspection; final cost depends on home age, ceiling access, and chosen material.